
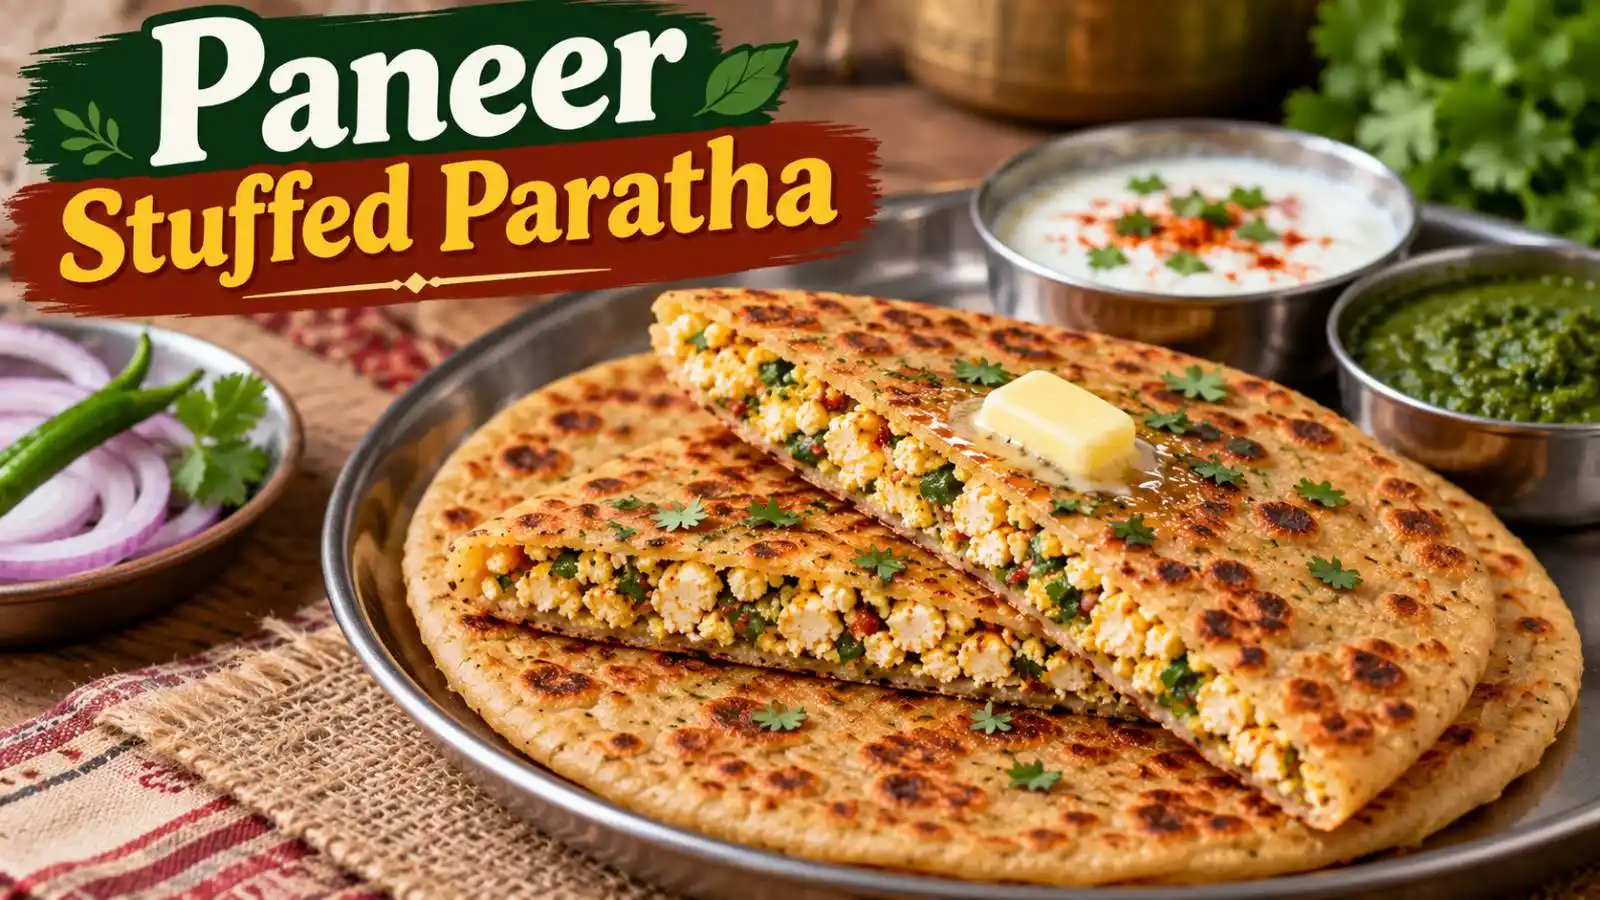
Paneer Stuffed Paratha
A hearty and filling flatbread stuffed with crumbled paneer and a colorful mix of finely chopped vegetables. It makes a wonderful homemade meal that stays soft for hours.
By What I Can Cook WithPublished Editorial policy
- Diet
- Vegetarian
- Serves
- 3
- Ingredients
- 12
- Steps
- 9
Scales ingredients for 3 servings
Ingredients (12)
Main items
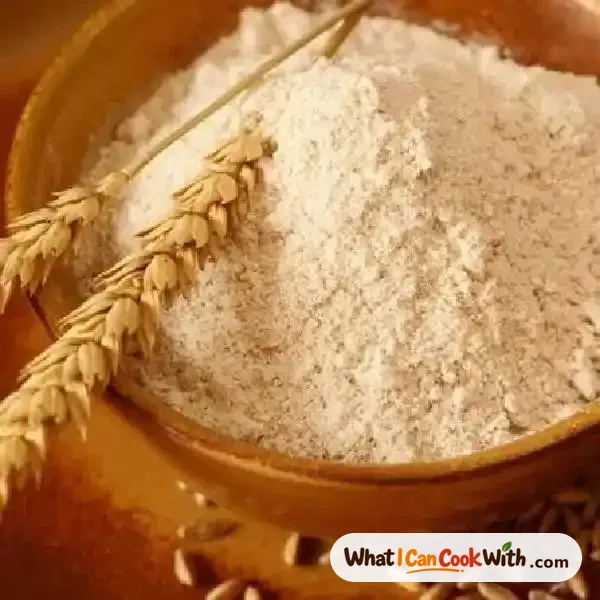 2 cupWheat Flourआटा · আটাfor making the dough
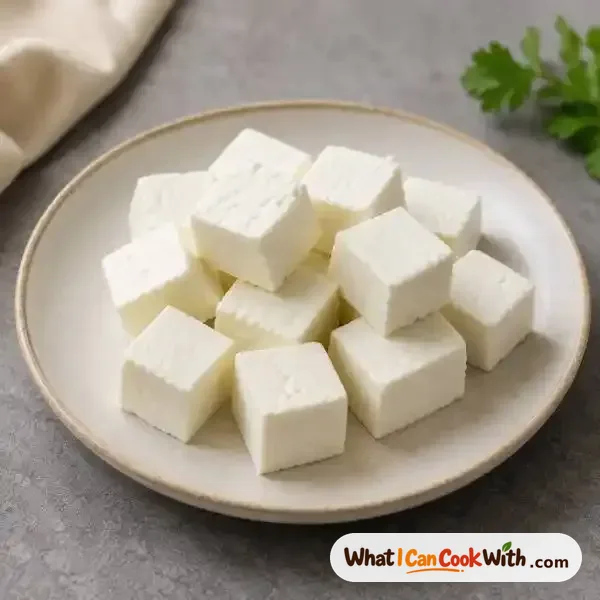 200 gPaneerपनीर · পনিরcrumbled
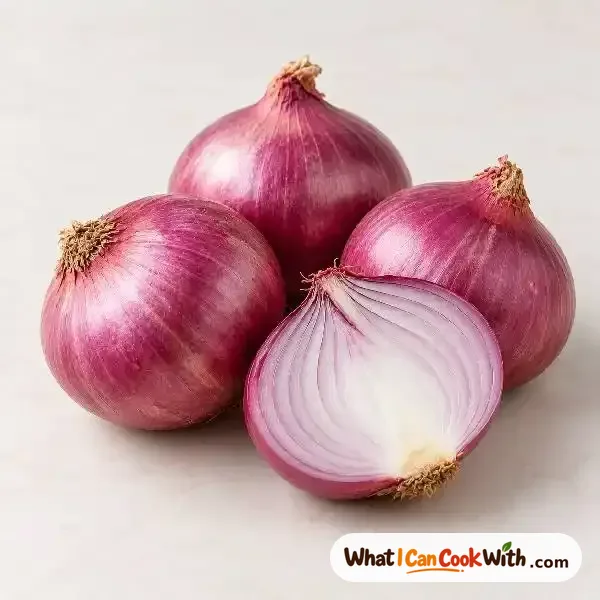 1 pcOnionप्याज़ · পেঁয়াজfinely chopped
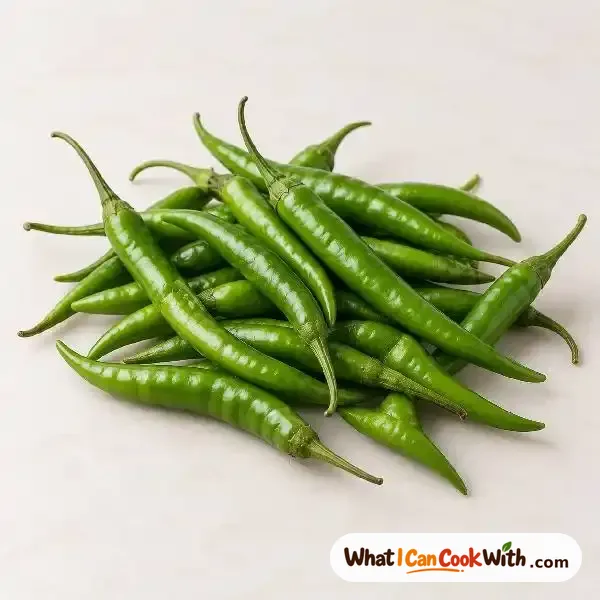 2 pcGreen Chiliहरी मिर्च · কাঁচা লঙ্কাfinely chopped (adjust to taste)
 ½ cupBell Pepperशिमला मिर्च · ক্যাপসিকামfinely chopped, mixed colors if available
 1 pcCarrotगाजर · গাজরgrated
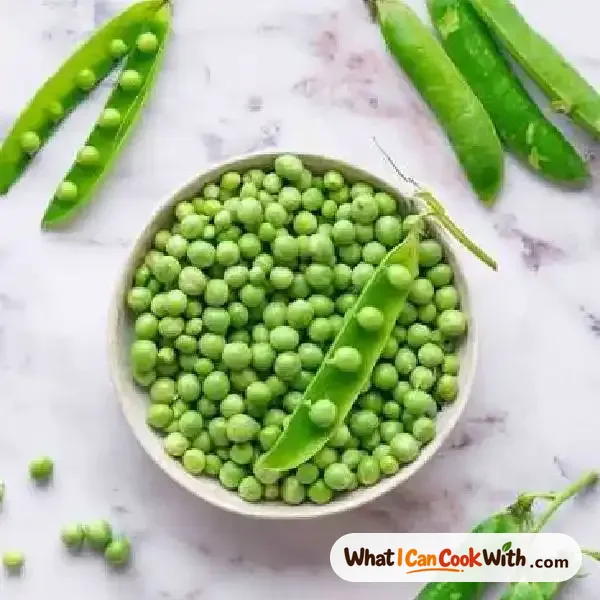 ¼ cupGreen Peasहरी मटर · কড়াইশুঁটিfrozen

Spices & herbs

Preparation Steps
0 of 9 completedKnead the dough
In a large bowl, mix the wheat flour with half a teaspoon of salt. Slowly add water and knead into a very soft dough. At the end, smooth it out with a teaspoon of oil and let it rest. Keeping the dough soft prevents the parathas from tearing.
Prepare the filling
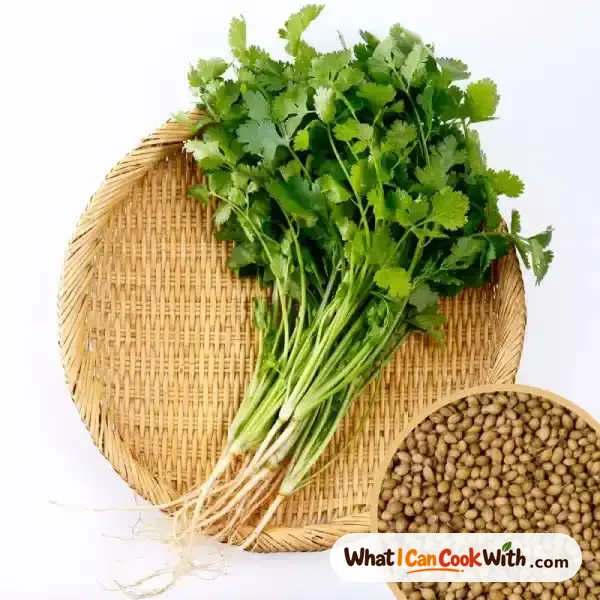
In another bowl, add the crumbled paneer, chopped onions, green chilies, bell peppers, grated carrot, frozen peas, and fresh coriander leaves. Using frozen peas means you do not have to boil them first.
Season the filling
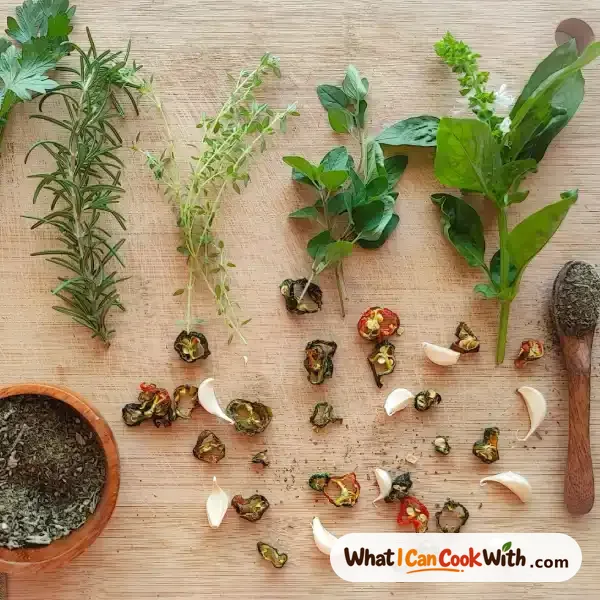
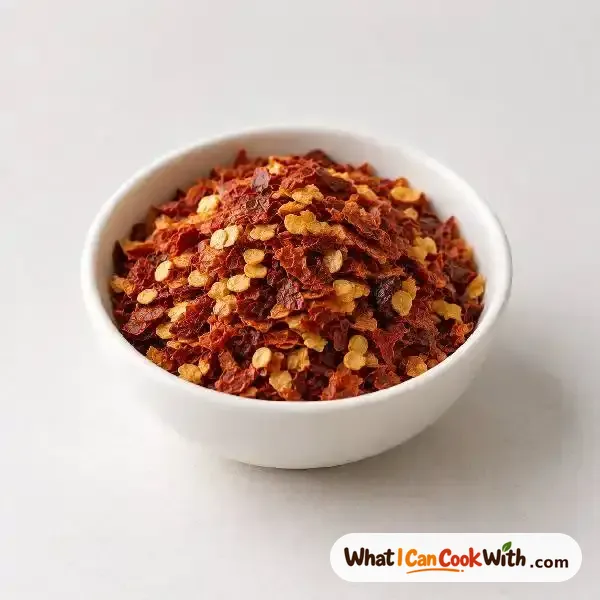
Add the mixed herbs, chili flakes, and the remaining salt to the paneer mixture. Mix everything thoroughly. You can gently mash the paneer with your hands so it binds the vegetables together nicely.
Shape the dough
Pinch a large ball of the rested dough. Dust it with a little dry flour, and use your thumbs to press it into the shape of a small bowl.
Stuff the dough
Place a generous amount of the paneer filling into the center of the dough bowl. Bring the edges up together, seal them tightly, and pinch off any excess dough from the top.
Roll out the paratha
Gently flatten the stuffed ball with your palms first to help spread the filling. Dust with more flour and roll it out gently. If you find this tricky, roll two thin rotis, place the filling between them, and seal the edges with a fork.
Cook the first side
Heat a tawa on a medium flame. Place the rolled paratha on the hot tawa. Once the bottom starts to cook slightly, flip it over.
Roast with oil or ghee
Apply oil or ghee to the cooked side. Flip again when the bottom is cooked, and apply oil to the other side. Gently press the edges with your spatula and roast until both sides are a nice golden brown.
Serve and enjoy
Remove the hot paratha from the tawa. Serve immediately with a side of fresh curd. If making these for children, adding a little cheese inside before sealing makes it extra special.
Serving Suggestions
- •Serve hot with fresh homemade curd
- •Pair with your favorite pickle
- •Serve with a simple green chutney
Storage & Reheating
Best enjoyed fresh right off the tawa. If you have leftovers, store them in an airtight container in the fridge for a day and reheat gently on a warm tawa.
Save to your favourites
Tap Save to find this recipe again quickly in this browser.